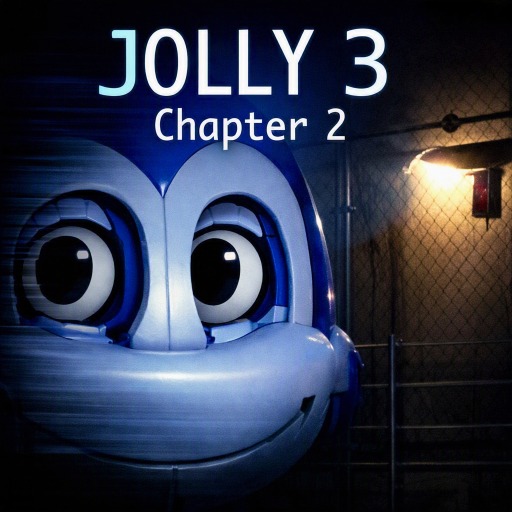
You don't have to fight. You survive. In Jolly 3: Chapter 2, you're an investigator trapped in a locked office in the middle of an abandoned factory. No weapons. No escape. Just monitors, systems, and two animatronics moving in the darkness toward you.
Systems to Manage in Jolly 3: Chapter 2
Boss Theo puts clear pressure on you. Proof or job loss. When the system restarts, a recorded message from Director Kevin Johnson confirms the danger. Broken Jolly and Broken George are active. Each night, you operate simultaneously:
- Radar and cameras: monitoring the animatronic's location; Radar cooldown forces you to alternate information sources.
- Jammer and doors: Activate at the right time when Broken Jolly or Broken George approach the entrance.
- Ventilation and air conditioning: Ignore either, and the system collapses in a chain reaction, dragging you down with it.
Controls
- Arrow keys: Navigate camera and control panel.
- Click: Interact with the system.
- Panel tabs: Switch between radar, jammer, maintenance.
- Action buttons: Activate defense or repair.
Broken Jolly and Broken George Operate Differently
How Broken Jolly Moves
- Moves through the main hallway. Easy to track via camera if radar isn't on cooldown. Jammer is effective when detected at the right time.
How Broken George Attacks
- Emerges from blind spots. Doesn't appear on standard cameras. Radar is the only tool that detects George early enough before approach. Without radar, you have no warning.
Handling When Both Animatronics Enter Simultaneously
- The most dangerous scenario: Radar is on cooldown, George is not visible on camera, Broken Jolly is entering the door. Priority order: activate the jammer first. Then, check ventilation. Do not touch the air conditioner if the temperature is still stable.
Survival Tips for the Night
- Radar has a cooldown. After use, wait for it to recharge. Continuous use will blind you midway.
- Warning sound before the camera. Listen first. Look later.
- Multiple systems reporting errors: ventilation first, camera second. That order remains unchanged.
- Activating the jammer at the wrong time will cause it to fail immediately. Wait for the animatronic to enter the correct doorway.
- Temperature exceeding the threshold will cause the air conditioner to shut down. The air conditioner shutting down will trigger the remaining systems. Maintain a stable temperature from the beginning of the night.
Jolly 3: Chapter 2: The Secrets Are Yet to Be Revealed
The factory hasn't revealed everything. Each surviving night in Jolly 3: Chapter 2 uncovers more pieces of the puzzle about the experiments inside the underground facility. Broken Jolly and Broken George aren't just threats. They are clues. Continue to find out what the truth is.
Not familiar with the story? Explore Jolly 3: Chapter 1 to get a full understanding before diving into the next night.